This post is going to be kinda long and drawn out, but hang in here, there’s a bit of a story here.
By now, I’m fairly sure that most of my friends know that I tend to walk out on a limb, even when it looks too small to hold my weight.
That’s what I am about to do.
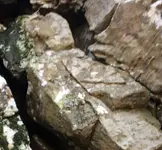
This big fella is about to try to explain how he came to be. I have a box in my brain, that I open occasionally to try to understand how monuments like this grand piece of work, are made.
For the most part, it’s a hammer of some sort and a chisel.
The mortar that holds it together is the hardest part. I have seen and touched many pieces of this type of work, and a few times seen it and not noticed it, because the work was done so well that it slipped by my eyes, but caught by a camera.
The way that the seams vanish into the mix made me believe that grinding a stone that was of the same material would be the best answer, but in order to make it work as a glue it would need to be mixed with clay.
I found the easiest material to work with, limestone, and it was in my driveway.
I gathered some small stones and ground them with my mortar and pestle.
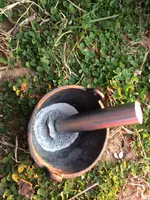
Then I started gathering the four different pieces, that I thought would work best.
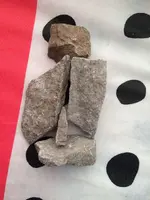
I outlined the rough part and started chipping the waste off, and smoothing and shaping them to fit together.
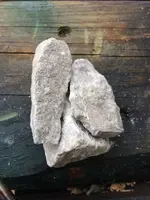
I chipped the wings to fit the base after shaping the book that would fit under the right wing.

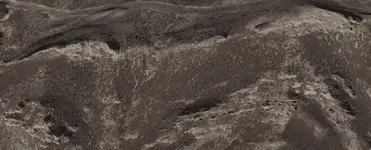
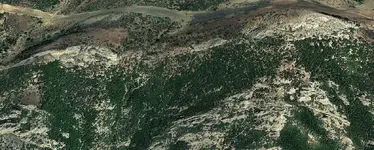
Then I roughly shaped the head, leaving the right ear and eye, that was destroyed, at some time after Jim had photographed it with his 35mm camera, while I was standing above the owl on a small landing,about halfway down the fifty foot bluff.
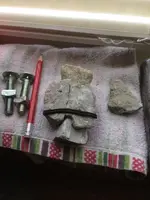
With the “dry fit” accomplished, it was time to work on the details.
Once I believed that the rest of the details would be added by carving them into the damp clay mix, I started layering the pieces with the clay mix
(Which was a little darker than the stone pieces), I pressed them together and binding them with a rubber band.
I placed the head into place, and filled in the back side to create a sound foundation , and let it dry overnight.
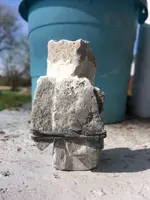
Everything had dried together, but the seams were all white... not expected!
I wanted to get a picture with the rubber band removed and with it leaning against the metal post at the center of the platform, without the clutter.
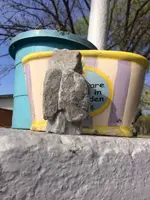
When I placed it near the post and leaned it back, the head touched the post and every piece of it fell apart!
I had to start over.... The stone pieces were undamaged, but had to be brushed clean and the clay had to be reformulated.
At this point I needed to make sure that everything would stay in place until it could be heated, to form a secure, single piece of work.
I tried, more times than I care to admit, to rebuild it, one piece at a time.
Without gravity enough to hold the pieces together long enough to dry and be fire hardened , which is what I believe was done with the original pieces. I had to move forward with a little bit of modern help.
I heated the pieces enough to dab a little “hot glue “ on them, to get through to the clay packing, to hold them permanently. The newly formulated clay dried well, and only a little off colored.

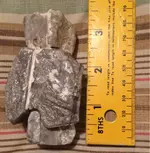
Note that the face has been restored, with its beak and lightly engraved during that last attempt.
After allowing it to dry for several days, I tried to put the details on the owl’s left wing. This was much more difficult than I expected. I ended up with the original shapes that I had carved into the stone left.
I was attempting to build up the semicircular shape of the original owl.
I have adjusted my expectations about how much detail I can do on a miniature.
The one thing that I did hold true to, was the fire hardening!
I believe that, more than ever, after having done it to the completed piece.
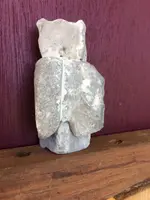
I showed my work to my wife, and somewhere in the process, it hit the floor ( hardwood floor). I’m not sure if my heart stopped beating until it stopped bouncing or not, but I am sure that I didn’t breathe till then.
It held up to the drop!
Enough testing for strength!
The final step, of waiting decades for the “desert varnish “ to develop, was too much for me. I finished it with a light coat of clear fingernail polish.

I don’t think that it is too bad for a first timer.
#/;0{>~


