I'll do a short tutorial on this process. Recently, one of my Neighbors passed away named Phil, he was father to my neighbor Joanne. He was also the man that wanted me to take his dog. He had been hinting to me as long as I had known him that he wanted me to work with his pup and when he told me he was looking for a family for Chief, I told him that I would really like to have him. He's one of the smartest dogs I've ever seen, and we do good together...
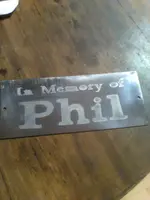
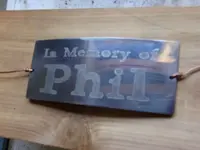
When Phil passed, my neighbors and I got together with a plan for a living tribute to Phil rather than the cut flower routine. We went to Joanne and asked if she had a favorite plant that she would consider planting in honor of Phil. Well to shorten it, if key lime pie had anything to do with it, we planted a key lime tree.... My project is to make the memorial plate for Phil's tree.
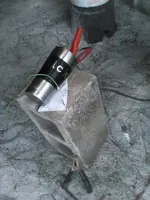
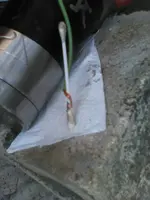
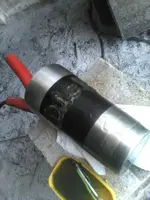
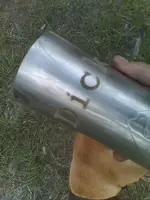
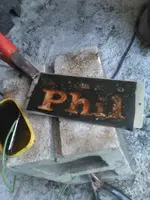
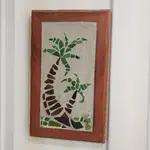
This is what happened. All that is involved is a battery charger, a little salt mixed in a little water, a few Q tips, a length of stranded copper wire , You could use anything for a stencil as long as you can make it stick closely to your target. I was lucky. My daughter has a Cricut and cut my stencils out of vinyl. In the photos you'll see the red (+) positive lead from the charger is on the piece you want to etch, the length of wire was stripped back where about an inch of bare wire was showing. One end is clipped into the black (-) negative lead from the charger. The other end of the wire is wrapped around the end of the Q tip tightly around the thin area of cotton. That Q tip will be your magic wand. I put a small amount of salt(tspn) into that small cap of water and dissolved it. Now when I say a charger it needs to be an old one without the computer features for safety. One of those will just shut down when it reads short. I've got mine hooked up to a large floor charger but you can use something as small as a 9 v battery. Believe me, it works! My test was done on a metal cup I use daily. It came out really well and it surprised me on how deep it etches. I went over everything 3 times but I suspect if you were careful and sure of your strokes, one complete coverage would etch it pretty good. I put the cup to a test against my buffing machine...you won't polish the etch off anytime soon. Both items done are on stainless steel. It works on many other metals such as copper, brass, aluminum, etc,.
With your red clip on your target, your wand in hand, dip the wand into the salt water and dab the Q tip around your stencil area you want to etch. Pay attention to what the burn is doing. Your Qtip will only hold enough salt water to do a small area before you need to dunk it into the salt water again. You'll see it bubble and smoke (well ventilated area only as some fumes are dangerous). I watch that happen until I see the tip look like it's drying up and I re-dip the wand in salt water. If you keep at it without dipping it back in the salt water, you will burn the cotton off the Q tip and have to put another one on. If you make sparks you have burned the tip down to where your wire is touching the target. You have either wrapped your wire down too far or you have burned your cotton off. It only took 3 Q tips to do the 2 projects I'm posting here. If you just keep moving the wand around and as long as sufficient electrical contact is made it will produce a gray/green sludge around the tip. I do that until the area is completely covered then remove the stencil.
Here's the pix:
