fistfulladirt
Gold Member
- Feb 21, 2008
- 12,209
- 4,922
- 🏆 Honorable Mentions:
- 1
- Detector(s) used
- dirtfishing
- Primary Interest:
- Other
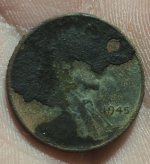
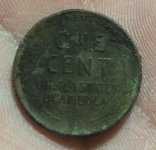
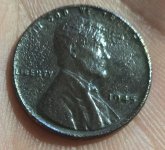
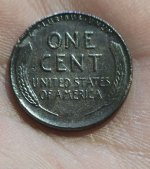
Olive oil is also acidic and will cause pits over time.I don't know why people keep suggesting putting coins in lemon juice or vinegar. They are acidic and will damage metal.
https://finds.org.uk/counties/merseyside/the-dangers-of-olive-oil/