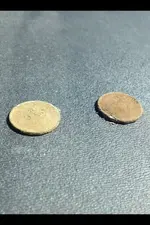
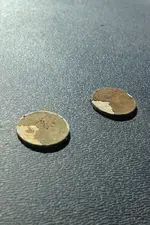
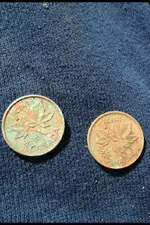
Accidental trick find for cleaning crusty copper coins!

Last edited:
Good call... I have a jerky dehydrator, and I bet the combination or heat and air circulation would be perfect... Now I just have to dig it out of the storage unit and scrounge up some crusty coins to try it on.

Please do try some! :)
 

I never tried peroxide yet but I will for sure sometime. Heard its great but does it change the color of the coins?


Depends on the coin and condition, but the mistake make make is rinsing it, or even soap and water when done, and that eliminates a light colored green patina from coming back... but again it depends on the coin for that to happen too. It's definitely one of the safer and more forgiving methods of cleaning and you can get enough experience without really messing many coins up, because it's hard to really mess em up. The most common way to screw something up is to soak it when it didn't need it, and could have been cleaned dry. We don't find many of those here, but very recently I soaked one that needed it for the reverse, and the crisp bust side did suffer because of it. So in the future anything that comes out looking good on each side will be cleaned dry.
 

Wife's hairdryer would "get hot and dry" Good idea/bad idea....just a thought.
 

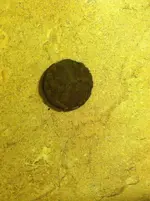
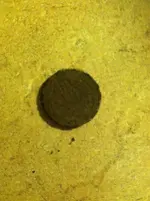
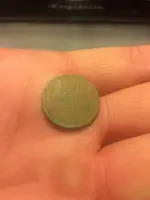
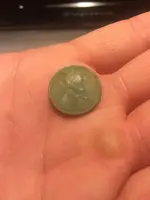
I know I'm resurrecting a thread here but I figured I'd give the technique a shot. Found my first Wheatie in the field today but it was so crusted up it took us a bit to even figure out what it was. So I figured I'd make it my sacrificial lamb. I had b used it off the best I could before hand. Here's the before:

ImageUploadedByTreasureNet.com1422324510.603028.jpg

ImageUploadedByTreasureNet.com1422324526.083680.jpg

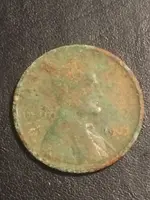
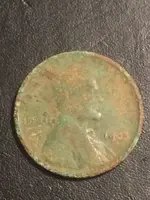
After 1 hour in oven preheated to 200 set in a foil tent:

ImageUploadedByTreasureNet.com1422324607.706030.jpg

ImageUploadedByTreasureNet.com1422324620.089490.jpg

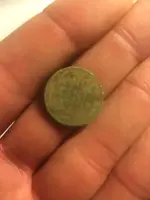
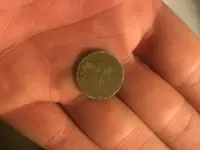
A lot of the crust did get knocked loose with a q-tip. Did it again 300 for one hour open:

ImageUploadedByTreasureNet.com1422324740.333061.jpg

ImageUploadedByTreasureNet.com1422324755.154841.jpg

Again, this was for testing purposes. What do yall think?
 

Part of one. 19-3. The dash depends on angle of light and delusions of grandeur. At one point it looks like a "2" then a "4" and then a "0". Here's a better shot.

ImageUploadedByTreasureNet.com1422331791.460387.jpg
 

Attachments

  • ImageUploadedByTreasureNet.com1422331804.531313.jpg
    ImageUploadedByTreasureNet.com1422331804.531313.jpg
    105.3 KB · Views: 270
Looks like it worked to me. I know there are probably a lot of little details to work out to make it work the best. I know in my car on a hot sunny day the conditions are almost perfect and the crust falls right off in no time!
 

Oh I'm going to try this out soon as I go out again and find some older coins. I thought about using dry heat. Don't wash anything when you dig it up. I use a 10 -60 magnification scope and you can see its always just dirt buildup that most makes up most of this crud. This sounds like it should work great. Can't wait to try.
 

We get some pretty hot day in Louisiana. Sounds like the perfect environment for your technique. Thanks for sharing.
 

That is a really neat discovery. Got to try it here in Oklahoma heat also. Thanks for sharing it.
 

been using this method for years now but I use a high wattage heat lamp after a long soak in distilled water first , the coin gets hot enough to the touch and "sheds" of its crusty verdigris.
 

Thought I'd post this. They are not the oldest coins but copper and large cents worked the same way other times. When I get some large cents I'll post them. The coins were dug about 4" deep about 10mins before I put them on the dash of the car. In about 20-30 mins they were done.
ImageUploadedByTreasureNet.com1429115927.157768.jpgImageUploadedByTreasureNet.com1429115946.340240.jpgImageUploadedByTreasureNet.com1429115963.925160.jpg
 

Top Member Reactions

Users who are viewing this thread

Latest Discussions

Back
Top