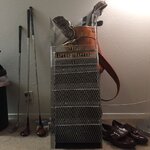
Saw a couple other build in here and decided to bite the bullet and commit. I figure a sluice will help with the fines and speed up my system when I find a spot.
Went to Home Depot and bought all of this.View attachment 1324286
Total cost was $120 bucks. (I'm also the going to make a miller table and my own version of a hooper fed gold cube). Will build those later.
Found this stuff. Guess it's noodle mat? Really cheap and will work (I hope).View attachment 1324287
Laid out 6" flanges and a 12" throat. I bought one of these hoping to save some mess and time. It's a plexiglass cutter tool. Super cheap.View attachment 1324288
Cut my drop overall 24" View attachment 1324289
This is 1/8" thick. I score 5 times..... Better go with 10 I'd you don't have band aids.
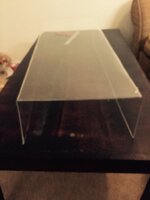
Busted out the heat gun and started bending. I clamped on my coffee table at just above the bend line to account for setback and bend radius. Worked ends then middle. Ends the final bend. Worked out great!
So after that I made a bunch of riffles. I decided to keep it simple and drill and tap the expanded metal for attachment with 6/32 machine screws.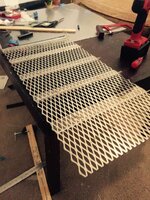
I bent up a double joggle hinging mechanism and bonded a rubber seal to help direct future water over the first ripple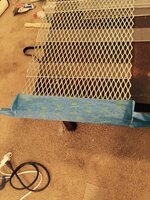
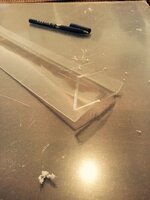
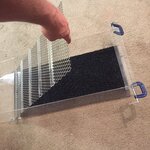
Came out very well. Here is the bed.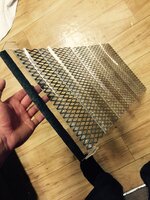
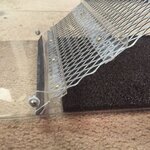
Drilled the hinge pivot and installed the fasteners. I'm using just a dab of sealant to lock the nut
I bent up a simple stiffener for the end and affixed it with sealant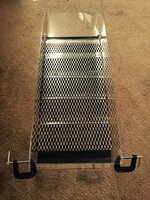
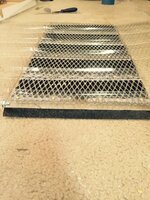
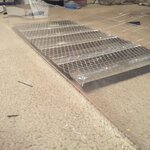
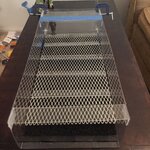
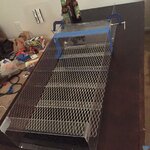
Well For a sluice it is done... I can use for the time being until I progress with the rest of the project.
Lessons learned.... I could have made this in 20 minutes with a shear and box and pan.... Acrylic is fine for this one.... Next go around... I'll use aluminum.
Went to Home Depot and bought all of this.View attachment 1324286
Total cost was $120 bucks. (I'm also the going to make a miller table and my own version of a hooper fed gold cube). Will build those later.
Found this stuff. Guess it's noodle mat? Really cheap and will work (I hope).View attachment 1324287
Laid out 6" flanges and a 12" throat. I bought one of these hoping to save some mess and time. It's a plexiglass cutter tool. Super cheap.View attachment 1324288
Cut my drop overall 24" View attachment 1324289
This is 1/8" thick. I score 5 times..... Better go with 10 I'd you don't have band aids.
Busted out the heat gun and started bending. I clamped on my coffee table at just above the bend line to account for setback and bend radius. Worked ends then middle. Ends the final bend. Worked out great!

So after that I made a bunch of riffles. I decided to keep it simple and drill and tap the expanded metal for attachment with 6/32 machine screws.

I bent up a double joggle hinging mechanism and bonded a rubber seal to help direct future water over the first ripple


Came out very well. Here is the bed.

Drilled the hinge pivot and installed the fasteners. I'm using just a dab of sealant to lock the nut
I bent up a simple stiffener for the end and affixed it with sealant


Well For a sluice it is done... I can use for the time being until I progress with the rest of the project.
Lessons learned.... I could have made this in 20 minutes with a shear and box and pan.... Acrylic is fine for this one.... Next go around... I'll use aluminum.


